Character Creation Guide
Storyline Creation Guide: Step-by-Step Tutorial for New Users
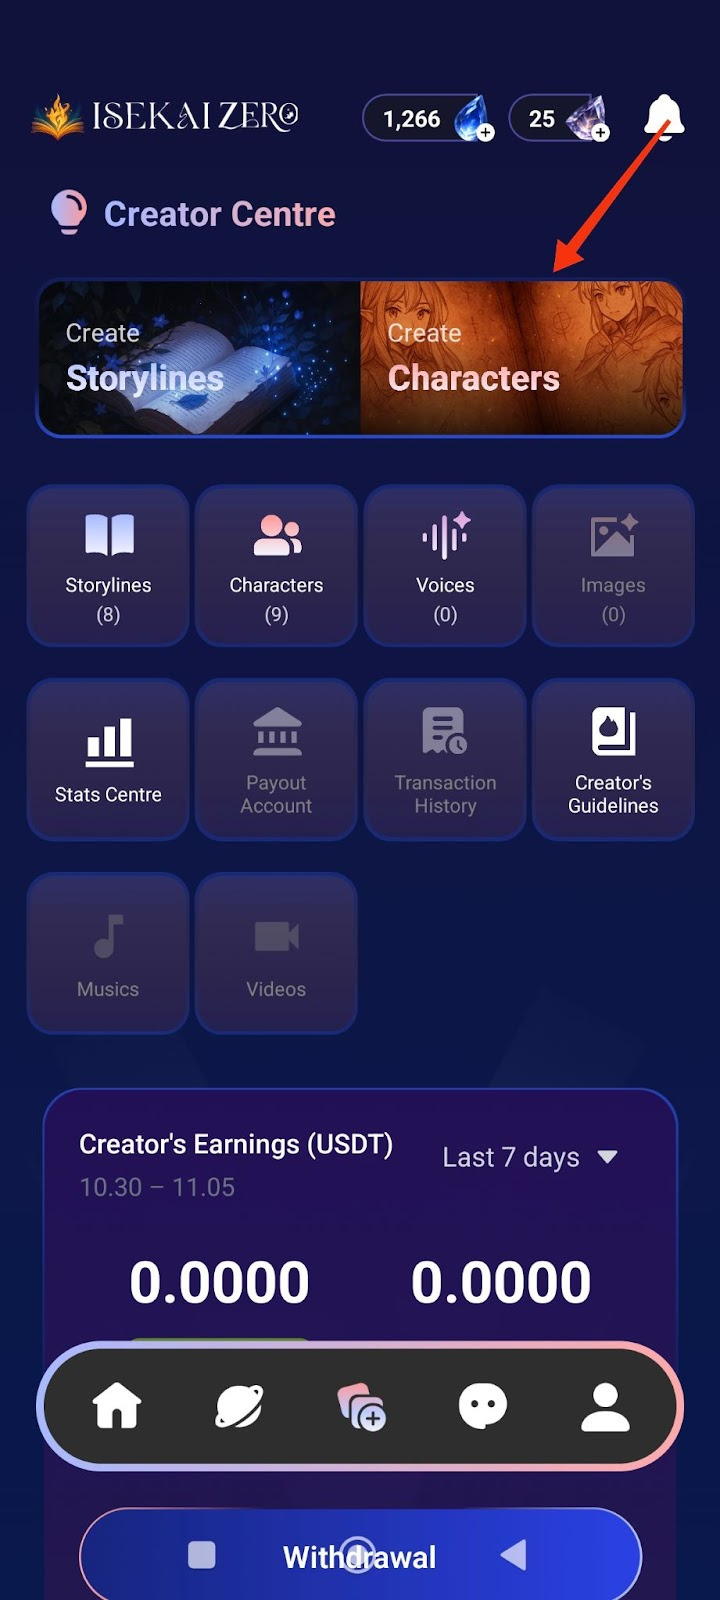
Step 1: Access the Creator Centre
- Open the Isekai Zero app
- Tap on the Creator Centre section
- You'll see two main options at the top.
- “Create Characters” is on the right
- Tap on "Create Characters"
Step 2: Add a Cover Image
*Compulsory for Public Storyline
**Optional for Private Storyline
The Create Characters screen will open. At the top, you'll see:
- A placeholder to add image
- To add a cover image:
- Tap the "+ Photo / Video" button
- Select an image from your gallery
- The first image will be the thumbnail for your Characters
Step 3: Select Language
- Find the "Language" dropdown
- Tap to select the language you'll be writing in
Step 4: Enter Character Name ⚠️ (Required)
- Find the "Name" field
- Type your character's name
- Example: "Yunari, Kuro, Sora"
Step 5: Write Description Summary (Optional)
- Find the "Description Summary" field
- Read the instructions.
- Write a short, catchy description (30 words or less)
- Example: "She is a lively person."
- This is shown to users browsing characters
Step 6: Write Full Description ⚠️ (Required)
- Scroll down to the "Description"
- Read the instructions.
- Write complete character details
- Important tips:
- Write {{user}}
whereverwherever you want the player's name to appear - Be detailed - the AI uses this for roleplay
- The more details you include, the better the AI will roleplay your character.
- Consider adding: Full name, age, gender, height, ethnicity, nationality, occupation, status, speech style, appearance, personality, likes, dislikes, fears, hobbies, backstory, etc.
Step 7: Add Character Tags (Optional)
- Tap the
pencil icon on the right
 - Add relevant tags to help users find your Characters
- Examples: demon, angel, female, loyal
Step 8: Configure Advanced Mode (Optional)
- Find the "Advanced Mode" toggle switch
- When ON (green): The character description displayed to users can be different from what the AI reads
- When OFF (gray): The same character description is used for both AI and users
- Leave it ON if you want different versions
Step 9: Configure Secret Mode (Optional)
- Find the "Secret Mode" toggle switch
- When ON: Hides the AI prompt from users
- When OFF: Users can see the prompts
- Choose based on your preference
Step 10: Write Prompt Description (AI) (Optional)
- This is specifically what the AI will read to generate responses
- Write detailed instructions for how the AI should handle the character
- Use {{user}}
forfor the player's name
Step 11: Add Example Dialogues (Optional)
- Write sample dialogue showing your character's speech style and personality
- Include both narration and dialogue
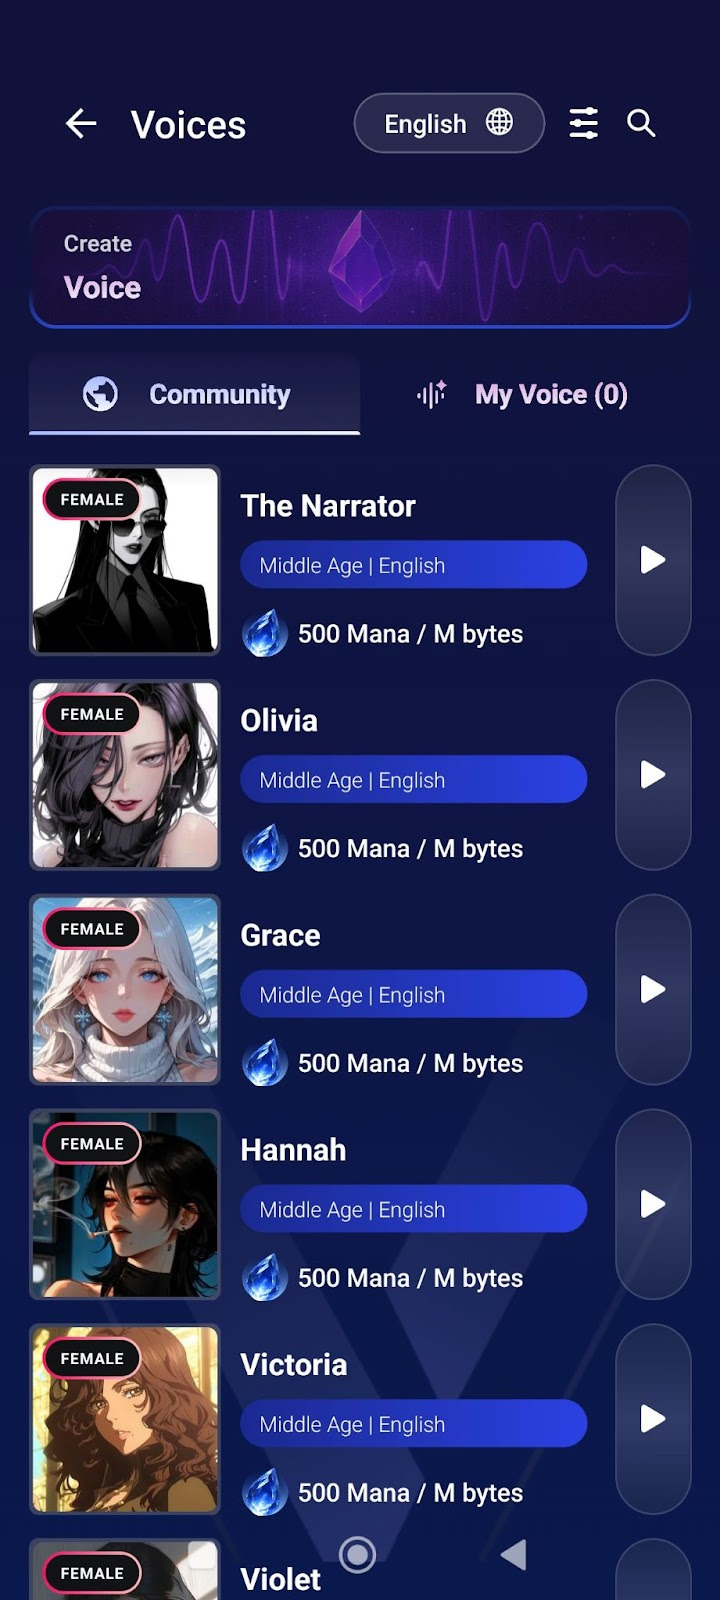
Step 12: Add Voice (Optional)
- Find the "Voice" section
- Tap the icon on the right
- Upload or link a voice file for your character
- This adds audio when character speaks in visual novel mode
Step 13: Choose Visibility Settings
- Scroll down to "Visibility" section
- Tap the dropdown (shows "Private" by default)
- Select from three options:
- Private: Only you can see it
- Unlisted: Anyone with the link can access it
- Public: Everyone can find and play it
Important Note for Public Characters:
If you select Public visibility, your character will be submitted for review before it becomes publicly available.
- Review time: 2-3 working days
- During review: Your character will remain private/hidden
- After approval: It will appear in public listings for all users to discover
- You will be notified once the review is complete
- Your character will be automatically translated into 10 languages, making it accessible to players worldwide.
💡 Tip: If you want to play with the character immediately, choose Private or Unlisted first. You can always change to Public later.
Step 14: Save Your Character
- Scroll to the bottom of the page to tap the large "Save Character" button OR
tap the on the top right of the page.
- Your character is now saved!